Kali Linux Live USB Persistence
Kali Linux is one of the most popular Linux operating system in the world of penetration testers. It comes pre equipped with a lots of useful penetration tools.
Back from its “Backtrack” days it has gain more popularity also.
Benefit of making a kali Linux Live USB is that you can carry you pen testing tool kit with you wherever you go and while doing forensic it also prevent you from mixing up with your target machine.
So First of all
Download Kali Linux from its official website
https://www.kali.org/downloads/
There are numerous Kali Linux OS images on the download page you can download the one as per your choice.
After downloading a Kali Linux image of your choice, we have to install it to a flash drive “USB”
Requirements
> USB drive of at least 8 GB
> kali linux iso image.
> OS imaging application Etcher
Download balenaEtcher from https://www.balena.io/etcher/
Creating Live USB
Boot into an window OS, Download and install an Etcher application.
Plug in your USB drive of at least 8 GB memory.
Run Etcher

Browse for the downloaded Kali Linux OS image, then select the USB drive after that start Flashing.
Wait for some time after completion your Kali Linux Live USB is ready to be used. You can start using Kali Linux Live but each time you boot your previous changes will be discarded.
So to preserve changes across boots we will create a persistence drive
Log in to any Linux OS keep in mind this LinuxOS is different from the one which we have just created.
Launch disk part

Select Kali Linux Live USB then select free space and click on the “ + “ button to create a new drive
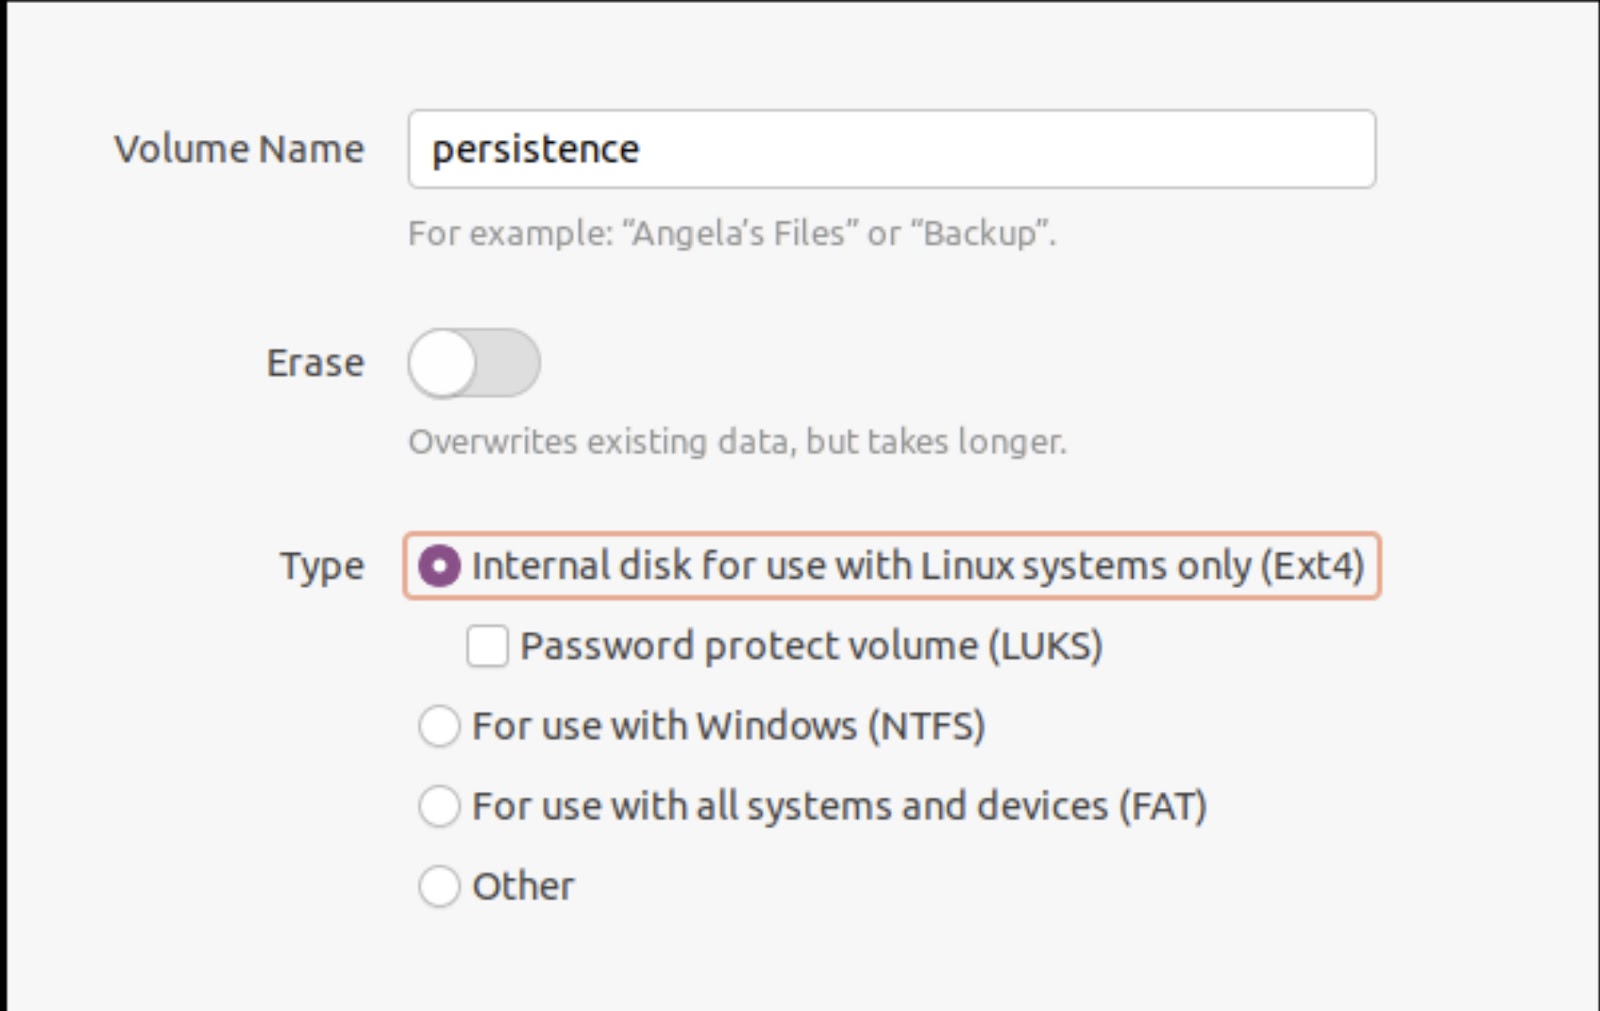
Write volume name persistence and select type ext4 and after completion of task exit disk part utility and launch terminal as a root user
Type the command “fdisk -l”

Then make an ext3 file system and label it persistence
Type following commands
mkfs.ext3 -L persistence /dev/sdb3
e2label /dev/sdb3 persistence
After successfull execution create a mount point and mount the volume
mkdir -p /mnt/my_usb
mount /dev/sdb3 /mnt/my_usb
After that create the configuration file for persistence
echo “/ union” > /mnt/my_usb/persistence.conf
Finally unmount the newly created volume
umount /dev/sdb3
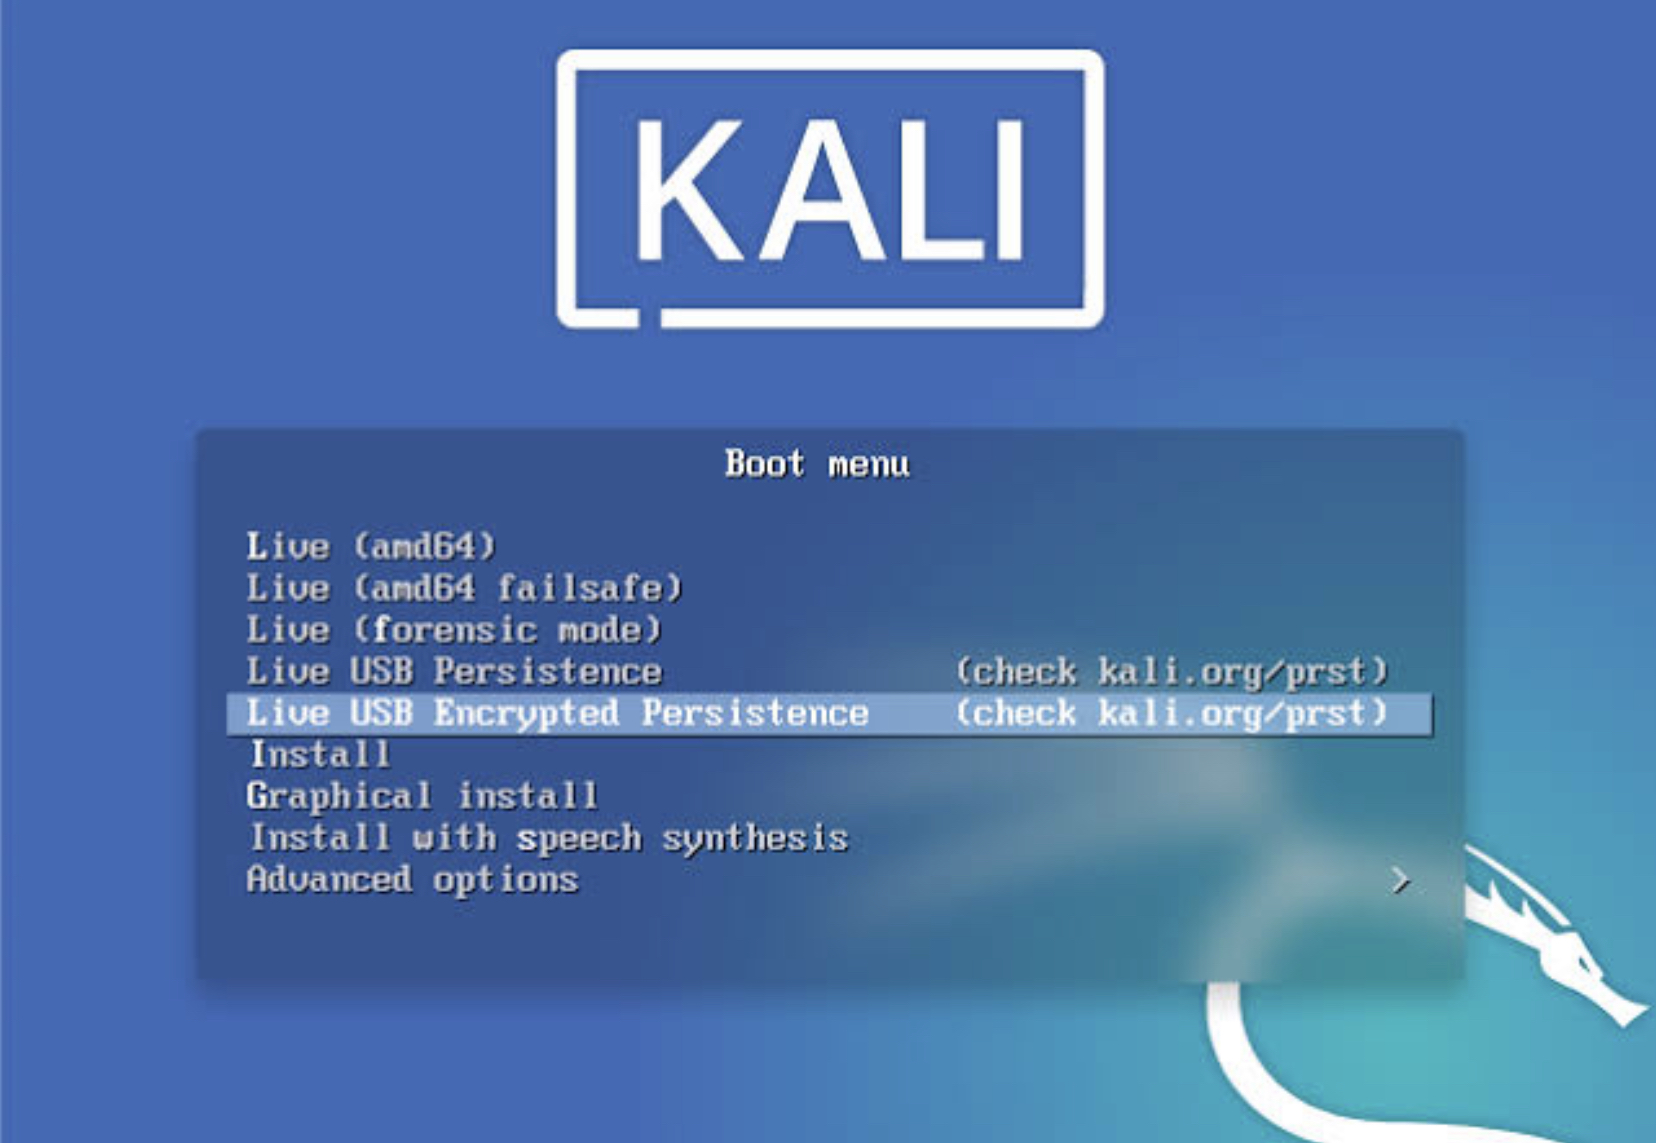
Exit the terminal and Boot from your newly created Kali Linux Live persistence USB.
For any suggestions or questions, feel free to drop them in the comment section below.