The command line is an incredibly powerful tool for Linux users, offering a fast and efficient way to perform tasks, automate processes, and manage the system. Here are some essential Linux command line tricks categorized to enhance your productivity.
📂 File and Directory Management
Command
Description
ls -lah
List files in a directory with detailed information, including hidden files.
cd -
Switch back to the previous directory you were in.
find / -type f -size +100M
List files larger than 100MB to help free up disk space.
du -sh *
Show the size of all files and folders in the current directory.
mkdir new_directory
Create a new directory.
rm -rf directory_name
Remove a directory and all its contents.
touch newfile.txt
Create a new empty file.
mv oldname.txt newname.txt
Rename or move a file.
cp -r source_directory destination_directory
Copy directories and their contents recursively.
tar -cvf archive.tar directory/
Create a .tar archive from a directory.
tar -xvf archive.tar.gz
Extract the contents of a .tar.gz archive.
🛠 Process and System Monitoring
Command
Description
top
Display real-time CPU and memory usage.
htop
An enhanced version of top with a more user-friendly interface.
ps aux
Display all running processes.
kill -9 <PID>
Kill an unresponsive process by its Process ID (PID).
pkill process_name
Kill a process by its name instead of PID.
uptime
Show how long the system has been running.
free -m
Check current memory usage in megabytes.
df -h
Check available disk space in a human-readable format.
journalctl -xe
View system logs for debugging errors.
systemctl status service_name
Check the status of a system service.
systemctl restart service_name
Restart a system service.
🔐 User and Permission Management
Command
Description
whoami
Show the current logged-in user.
passwd
Change the user password.
chmod 755 script.sh
Change file permissions to make a script executable.
chown user:group filename
Change ownership of a file or directory.
adduser username
Add a new user to the system.
deluser username
Remove a user from the system.
📡 Networking and Connectivity
Command
Description
ping google.com
Send a test signal to Google to check if the internet connection is working.
traceroute google.com
Trace the path packets take to reach Google.
netstat -tulnp
Show active network connections and listening ports.
iptables -L -v -n
List firewall rules.
hostname -I
Display the IP address of the machine.
wget URL
Download a file from the internet.
curl -O URL
Download a file using curl.
scp file.txt user@remote:/destination/path
Securely transfer files between computers using SSH.
rsync -avz source/ destination/
Synchronize files and directories efficiently.
📝 Text Processing and Search
Command
Description
grep "word" filename.txt
Search for a specific word inside a text file.
awk '{print $1, $3}' filename.txt
Extract specific columns from a text file.
sed 's/old-text/new-text/g' filename.txt
Replace all occurrences of old-text with new-text.
cat filename.txt
Display the contents of a file.
tail -f /var/log/syslog
Continuously monitor system logs for updates.
⏳ Productivity Boosters
Command
Description
ctrl + r
Search for a specific command in history.
alias ll='ls -lah'
Create a shortcut for frequently used commands.
history | grep command
Search command history for a specific command.
!!
Re-run the last executed command.
python3 -m http.server 8000
Start a temporary web server in the current directory on port 8000.
Conclusion
Mastering these Linux command-line tricks can greatly enhance your efficiency and control over your system. Whether you’re a beginner or an advanced user, these categorized commands will help streamline your workflow. Try them out and take your Linux skills to the next level! 🚀
As the name suggest vsftpds stands for Very Secure File Transfer protocol Daemon Server. This is the default FTP server in Ubuntu and many other linux systems.
Installation
Mostly vsftpd is installed on you system by default and if not you can do the same by entering following commands in terminal
First of all update your linux
sudo apt-get updateNow to install vsftpd input
sudo apt-get install vsftpd
Configuration
Now after you have successfully installed vsftpd
Start configuring its conf file located in etc folder
Note : Be extra cautious while editing vsftpd.conf file in nano editor, because if you make any mistake altering server configuration it will be a tedious process to troubleshoot. For safety you can backup original configuration file
Backup original vsftpd configuration file
Sudo cp /etc/vsftpd.conf /etc/vsftpd.conf.bak
Now open original conf file
sudo nano /etc/vsftpd.conf
Main configuration parameters
After editing configuration file do not forget to restart vsftpd by typing
sudo /etc/init.d/vsftpd restart
Check vsftpd status
sudo systemctl status vsftpd
Check Firewall Status
sudo ufw status
Now to access your newly created ftp server enter following
ftp://localhost
Here localhost is the IP address of your server machine
To know IP address enter following command
hostname -I | awk ‘{print $1}’
This will output your IP address which you can use in place of localhost
With the above configuration you can access your ftp server on your local network from different devices.
Apache is a free, open source and most popular HTTP web server. It establishes a connection between a server and the browser like mozila, chrome, opera etc.
Here I will show you how to install Apache server on linux OS (Ubuntu 20.04)
Install Apache server on Ubuntu
First of all update your operating system, this will update all outdated packages and will make installation error free.
sudo apt-get update
Now run the foolwing command
Sudo apt-get install apache2
To verify correct installation of appache web server enter the following address in your browser on the host machine.
http://local.server.ip
The result page will be like this
Here local.server.ip is your server host ip address to know the IP address you can simply enter the following command in terminal
hostname -I | awk ‘{print $1}’
Configure the default UFW firewall to listen on port 80
sudo ufw app list
sudo ufw allow apache
This will allow apache connections through firewalls
First of all download the android studio package for linux from the website
https://developer.android.com/studio#downloads
Then unpack the package in the desired directory in Home in my case I have unpacked it on Desktop.
Now launch the terminal and navigate to the android studio folder
cd Desktop/android-studio
Or
cd Desktop
cd android-studio
If you have trouble finding required directory path visit
Then launch studio
Enter the following command
./bin/studio.sh
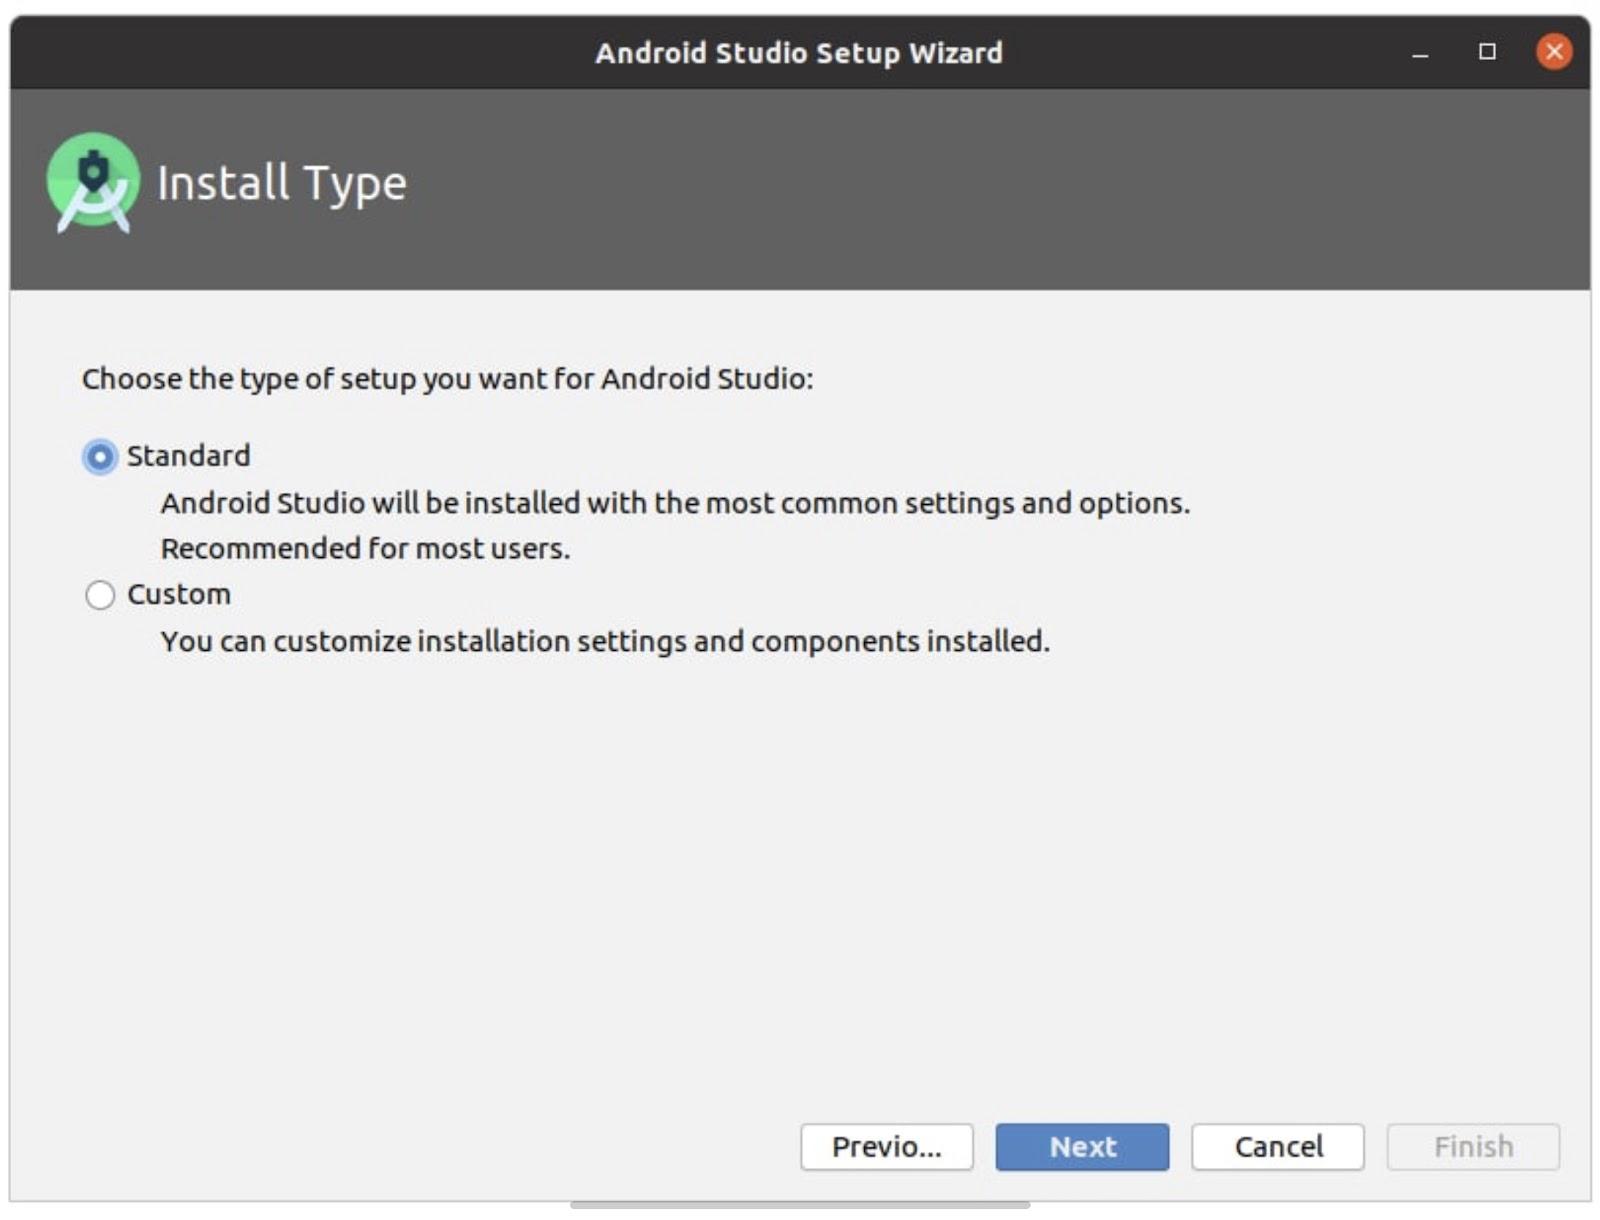
After few seconds a welcoming screen will appear on desktop here click Next to continue setup
Choose type of installation
Select user interface theme
You may select Dark or light theme as per your choice
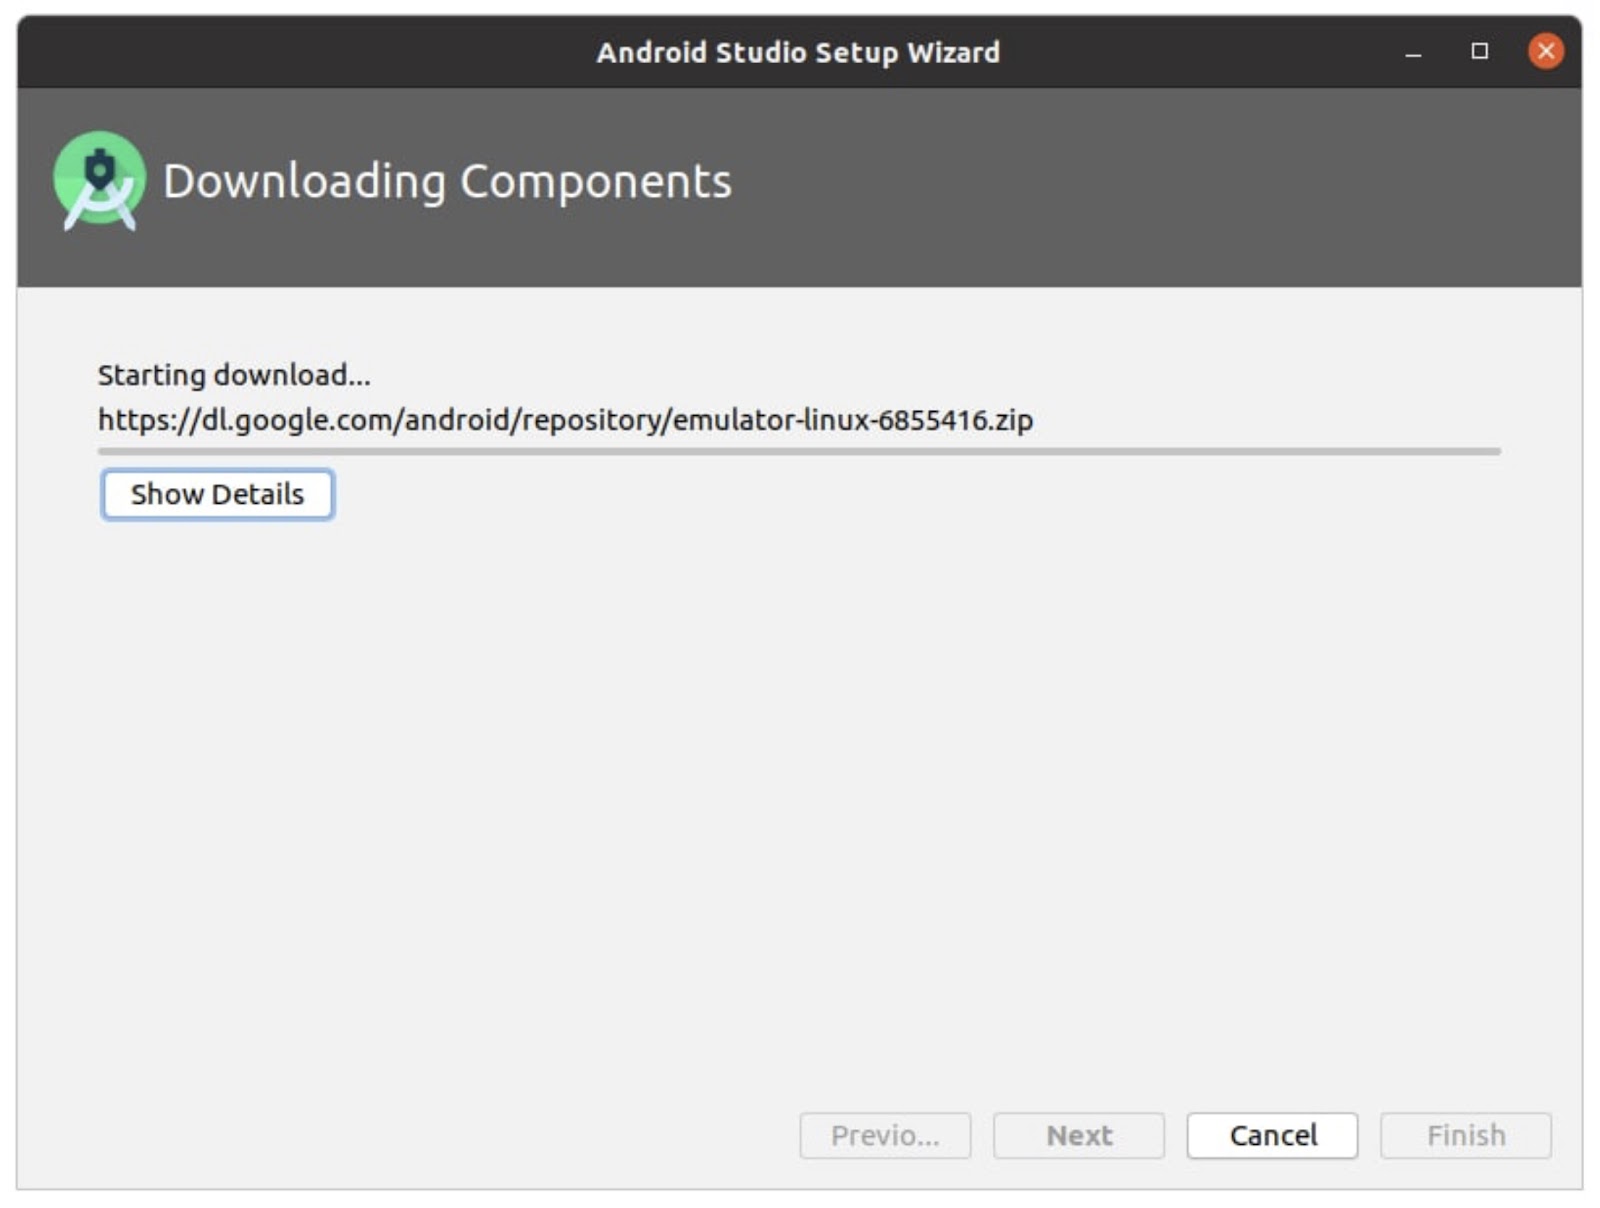
At this point of installation you need to have an active internet connection to download required components, this will approximately take 1GB of data.
After successfully installing android studio following window will appear
Now you can start using the studio to code and debug android applications.
Soon in the upcoming post I will write different articles helpful for beginners.
So Friends event occurs when you have to know about your system Hardware, on occasions like when upgrading your system or while replacing components. Like in windows have many options to know about your hardware but in Linux operating system you don’t have many options. So here I will discuss about some useful tool to know about your hardware installed in the systems, and the tool is DMIDECODE
DMI stands for Desktop Management interface, using this powerful tool you can easily decode your whole system installed components vital information like RAM, Processor, BIOS details and various other cards installed.
so first of all we have to launch terminal and then enter the following command
sudo apt- get install dmidecod
If your system had DMID code not stalled then this will install the DMIDECODE tool after this you have to enter the following command to know about your System board
sudo dmidecode -t baseboard
This command will basically show you Base Board information and to know more about your system hardware you can simply write the following command
sudo dmidecode
This command will show you all the information about BIOS, motherboard the RAM installation about the the net card Wi-Fi card and about the processor installed etc this way you may know about your motherboard and all the hardware information on a Linux using terminal you need not open the laptop case to check the make andmodel of individual cards.
Kali Linux is one of the most popular Linux operating system in the world of penetration testers. It comes pre equipped with a lots of useful penetration tools.
Back from its “Backtrack” days it has gain more popularity also.
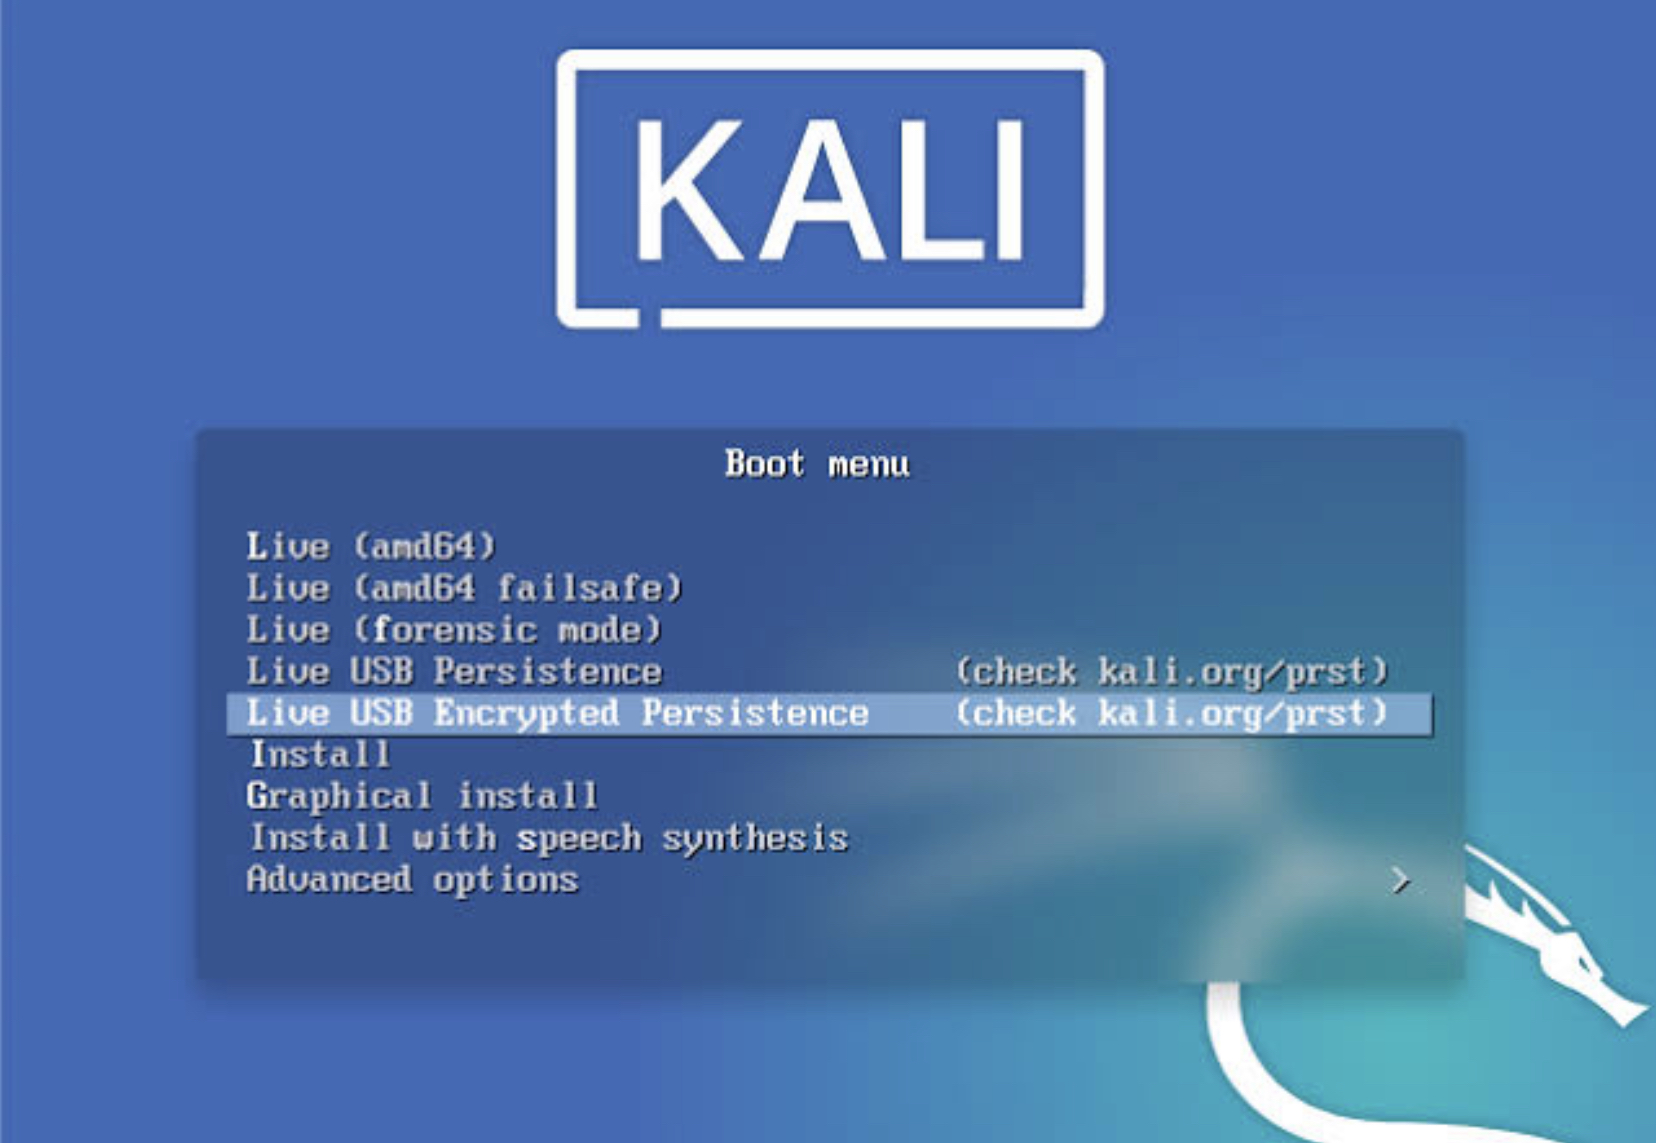
Benefit of making a kali Linux Live USB is that you can carry you pen testing tool kit with you wherever you go and while doing forensic it also prevent you from mixing up with your target machine.
Boot into an window OS, Download and install an Etcher application.
Plug in your USB drive of at least 8 GB memory.
Run Etcher
Browse for the downloaded Kali Linux OS image, then select the USB drive after that start Flashing.
Wait for some time after completion your Kali Linux Live USB is ready to be used. You can start using Kali Linux Live but each time you boot your previous changes will be discarded.
So to preserve changes across boots we will create a persistence drive
Log in to any Linux OS keep in mind this LinuxOS is different from the one which we have just created.
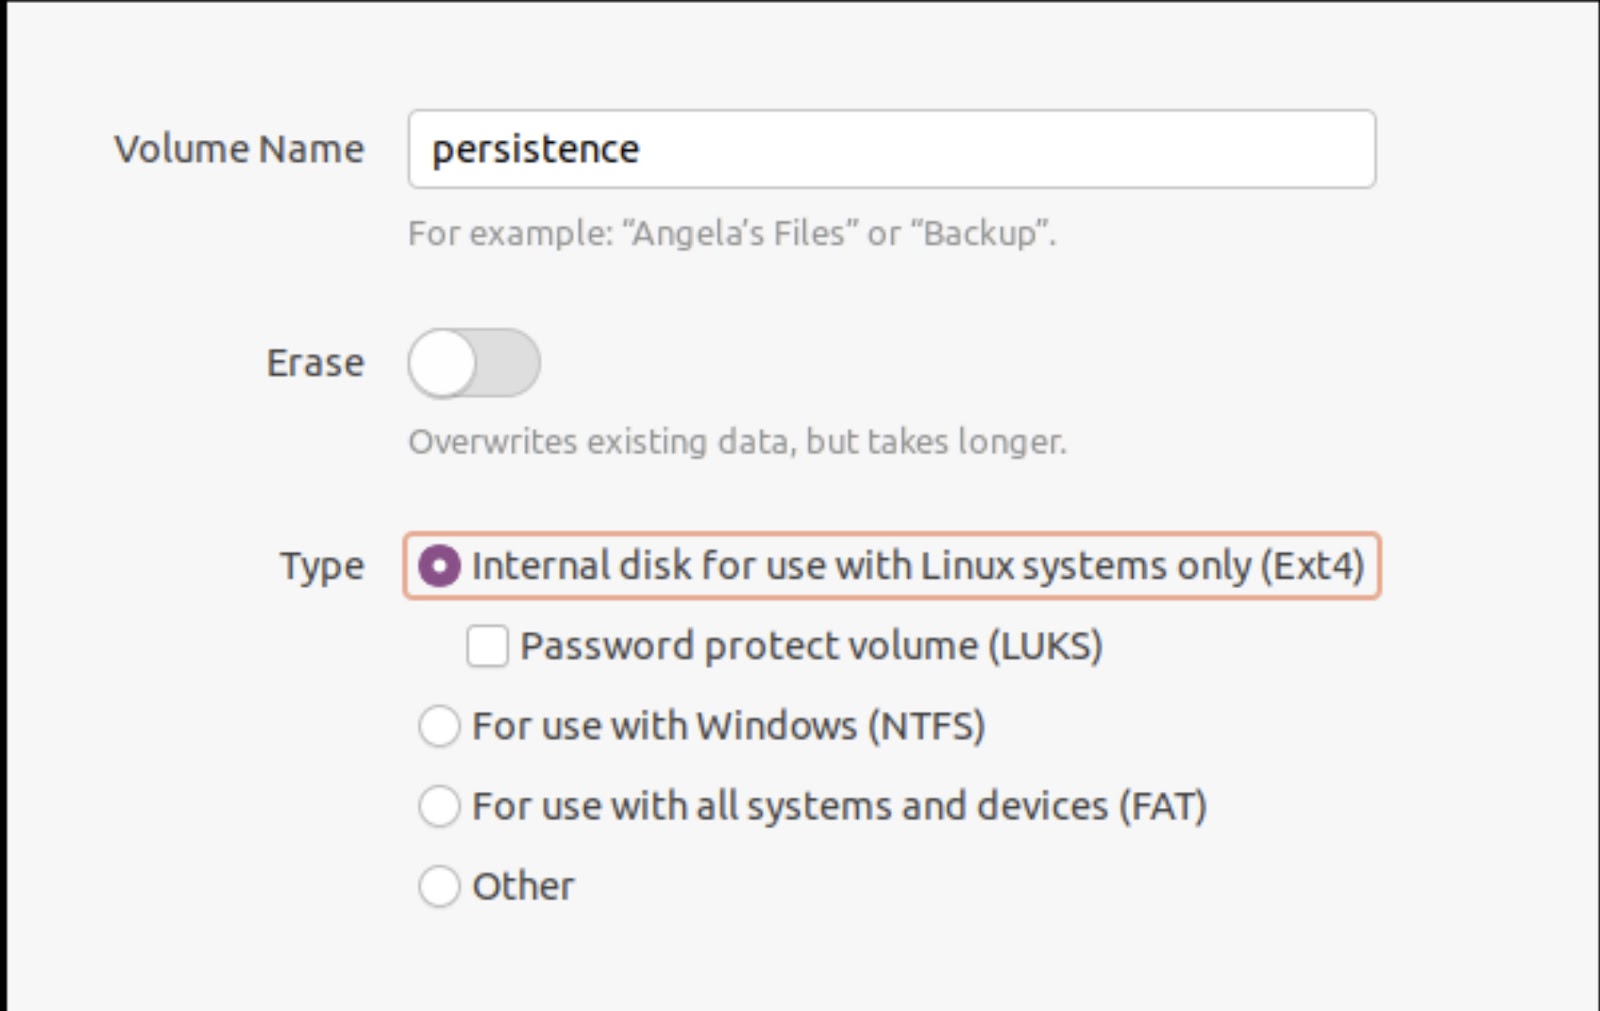
Launch disk part
Select Kali Linux Live USB then select free space and click on the “ + “ button to create a new drive
Write volume name persistence and select type ext4 and after completion of task exit disk part utility and launch terminal as a root user
Type the command “fdisk -l”
Then make an ext3 file system and label it persistence
Type following commands
mkfs.ext3 -L persistence /dev/sdb3
e2label /dev/sdb3 persistence
After successfull execution create a mount point and mount the volume
mkdir -p /mnt/my_usb
mount /dev/sdb3 /mnt/my_usb
After that create the configuration file for persistence
echo “/ union” > /mnt/my_usb/persistence.conf
Finally unmount the newly created volume
umount /dev/sdb3
Exit the terminal and Boot from your newly created Kali Linux Live persistence USB.
For any suggestions or questions, feel free to drop them in the comment section below.